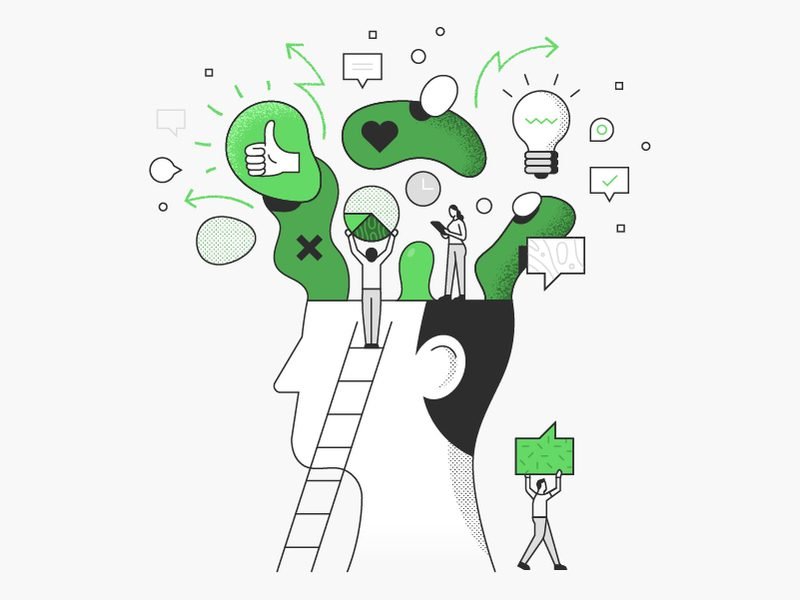
Designs make the world beautiful, and in the different marketplaces, logo and brand designers are essential to success. As a designer, you are a vast thinker, a highly creative person who can conceive ideas in the head before even putting it down to paper.
This type of work goes beyond just designing; you consider marketing, psychology, strategy, and other skills put together. Being all of this in one can be a huge task, but it’s exciting at the same time.
So at this point, if you are a brand or logo designer, you can give yourself the nod or clap you deserve for all of your creative and hard work. A good logo is a representation of what an organization is and what it does. A designer needs to be on top of his skills when designing a logo.
You might have experienced the rejection of your designs on different occasions, or you might be skeptical or displeased with your work or how it is going. Here is an opportunity to get the useful tips needed to create a better design workflow and design altogether.
This reading aims to help you have a better design workflow and get that design accepted.
9 Steps to Creating a Better Design Workflow
#1. Explain your Design Workflow
Your design has a process. Please explain it to your clients. Without the workflow, there will be no design in the first place. Do not hesitate to let them know how you progress in your design work. This process is essential, and it covers your years of experience in your design career. Keep adjusting it to each of the new jobs you get.
A sample of a working design can include a creative brief-deposit of 50%-research-sketches and design-presentation-feedback-corrections-final presentation-files delivery. When your clients see this, they can respect your work process, work together with you without pressure, or misunderstand.
In your design workflow, have goals set and fix when clients make payments after reaching particular milestones. Make your client understand the whole process and trust it. You should present the process at the first meeting.
#2. Describe your Design to the Client

At this point, ask questions. You can describe what is about to be made by fully understanding what you are to do, explaining your workflow, and letting them know you will work with the responses to the questions. Some of the questions may not look directly related to the design.
Do not be afraid to ask as many questions as possible; those you know will help your design. Some designers ask questions to tap into an idea of the client’s person and identity to express their thoughts better and appeal to their customers’ emotions. You can do the same. As a professional in the fields, know what to ask and ask.
Some questions that you can ask include; tell me about yourself? How did you get here (your story)? What promises do you make to customers? What do you see in the future? Who are your competitors? What is your goal for creating this logo? What is on your mind about the kind of emotions you want from your customers? These are examples, and you can pattern yours the way you want it.
It is good to let your client know that it is part of your creative brief, and you need it for your work.
#3. Know how to Engage with Creative Clients
Have you come across some clients who want to sit with you throughout the process and tell you what to design? These clients already have their sketches and maybe alternative ready-made designs and they want you to work with them.
Some creative clients suggest ideas at your first meeting without giving you a chance of your own. This situation might be a little uneasy for designers.
If you find yourself in it, first know that your client’s advice and ideas are valid. If the idea does not go down well with you, still appreciate them and always tell them you would consider it.
Now, what do you do? The client’s idea should be like hints or keywords to work with.
Look at it and bring out something from it; that is your idea. Even if you cannot work with the concept, including the client’s idea in it in your first presentation, explain why you feel the idea is not the best for the logo, and do this well prepared. You should expect some arguments there.
#4. Start by doing Research
Research is an essential tool in your design process. It is the first thing to do, and it helps you get an idea of where the logo design is heading.
Some of the companies would not give you sufficient information on all you need to know. Here it is good to further research the organization, its competitors, and logos in the same business field.
You can show your collections of logos to your clients. Let them know what the supposed competitors look like in terms of logos. It will help both of you to make better decisions. Also, note that there is nothing that is totally original.
Your idea might be an abandoned idea of another person, or it might have its inspiration from another logo. Hence, your Research also includes finding logos related to the concept you have for your competitors.
You have a plus when the client asks you to go for a design related to the one you have researched. You can easily show him the design you have seen and tell him it is not a good idea because it looks similar to an existing one.
With the Research, you can save yourself from infringement accusations and your client from problems when registering a trademark.
#5. Create a Mood Board
This board can also be called an inspiration board. From its name, you physically or digitally put together all the ideas you have for your design. It prevents misunderstandings that can come from describing designs verbally.
Firstly, mood boards save time, and it helps you convey your message appropriately. It can serve as a reference point as you progress in design. Secondly, it serves as an appetizer as it brings a good mood to the room.
You can present based on that foundation. Also, it helps to convey the emotions the clients may want to evoke in the customers. The client might change some of the images.
In all, it gives a clearer pictorial view of your work’s background.
#6. Present your design effectively
Present your design like a professional. Take the lead in your presentation. Present your work, explain your reasons, how it will aid the business goals of the organization. It is better to have two or four options from which your clients can choose. However, show them the best suggestion of yours.

Doing a live presentation is going to be the right choice. You can make use of webinar tools or different media like zoom, Skype, or others.
Also, when presenting, take them through the different stages of how you came about the designs. Do not just lead them to the final design. Understanding the journey will make them see reasons with you.
#7. Choose an attractive Icon
Icons should be creative, should be right, and should blend with the remaining designs. Also, icons should be easy to understand. Wordmarks can give you difficulty in creating something unique. Favicons can be an option, and it does not need to be unique.
App icons should be unique. Choose icons that are attractive and appealing to customers.
#8. Go easy on Effects
Effects are beautiful but do not use too much impact on your design. Let it be well-spaced, less busy. It should not be distracting or confusing. In a bid to produce a good design, you might be tempted to put all your ideas into one piece. Don’t! Simple is better.
#9. Use other Designs for Inspiration only
Originality is unarguably necessary for the design. You can draw inspiration from other people’s works. Another design can guide you. However, you should have your own goal, idea, and ultimate plan to design your desire. Do not copy another person’s creation. It is against laws, and your integrity and credibility are at stake.
Your design should be as much as possible unique to you alone as the designer. Although there can be unintentional similarities, it should not be the same or almost the same as another design.
Be original; it adds more credit to you.
Conclusion
As we conclude, take a look at these helpful tips in design. The general guidance for making a great logo design includes;
- Simplicity: There is beauty in simplicity. The logo shouldn’t be too busy or complicated.
- Memorability: How quickly will it be registered in people’s minds? Can it be easily remembered, or is it hard to understand?
- Versatility: How does it work with different media and sizes without losing quality?
- Timelessness: The logo should still be relevant, usable, and in vogue in some 40 to 50 years to come.
- Appropriateness: Your design shout be well suited for the target audience
About the Author!
Bharat is an Entrepreneur and a passionate blogger. He is a pioneer in Digital Marketing & the founder of BloggingMile, who knows how to generate a passive revenue stream. He also loves to share the most successful tactics and strategies with his lovely audience.