How To Create a Professional Design Studio Logo in Adobe Illustrator
In this tutorial we’re going to create a professional logo with stylish retro badge/emblem for the totally fictional Design Labs Studio in Adobe illustrator, which can be used by design agency, freelancer or elsewhere. We’ll use a simple circle shape and a lab symbol from Font Awesome. Let’s get started!`
Step 1
First, create a new file in your Adobe Illustrator with open menu File > New… Give your file name and set the file size.

Step 2
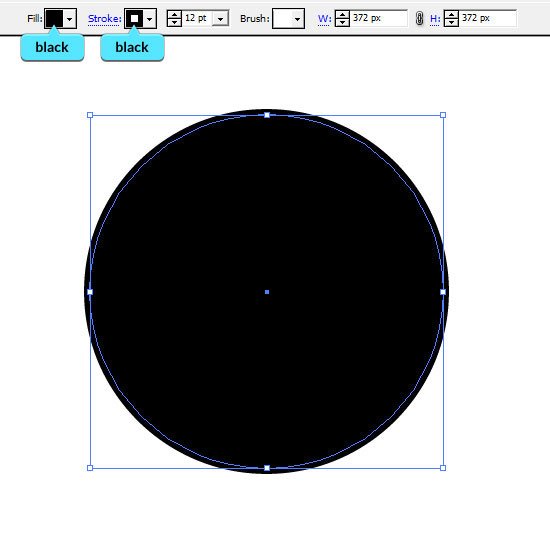
Now Create a circle with size 372px an put at the center. Fill: Black, Stroke: Black, Stroke Weight: 12pt.
Step 3
Adjust the Stroke settings Round Cap, Bevel Join, Active Dashed Line, 15pt Dash and 24pt Gap.
If your Stroke panel not active, active at menu Window > Stroke.

Step 4
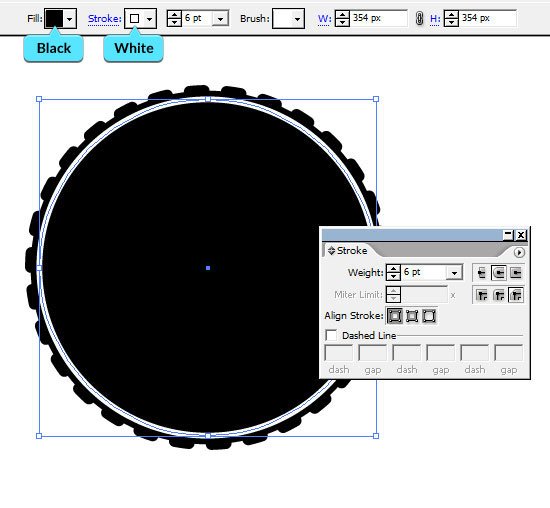
Copy circle (ctrl+C) and create a duplicate with Paste (ctrl+F), resize it down with to 354px, change Stroke to White and Weight: 6pt.
Step 5
Create a duplicate from a circle before and scale it down to 192px, change Stroke to White and Weight: 2pt.

Step 6
Create another circle and scale it to 174px, Stroke to White and Weight: 10pt.

Step 7
Duplicate a 174px circle and Fill: none, Stroke to Black, Weight: 5pt, Adjust the Stroke settings Round Cap, Bevel Join, Active Dashed Line, 10pt Dash and 19pt Gap.

Step 8
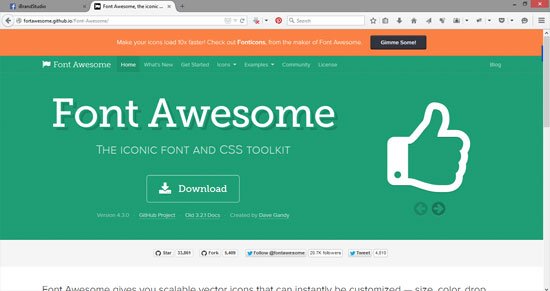
For the symbol at the center, I’m using an icon from “Font Awesome” you may download it for free at: FontAwesome.io
Step 9
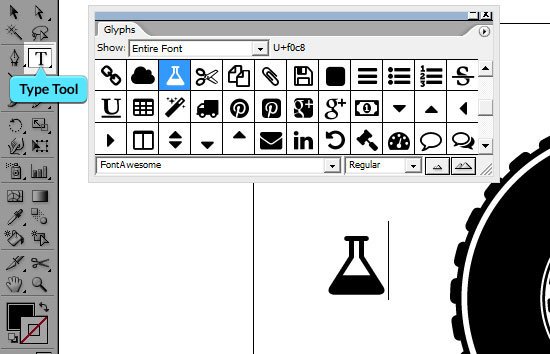
Create a symbol by Type Tool, but first Open Glyphs panel from menu Window > Type > Glyphs.

Step 10
With Type Tool put a text and double click a symbol from Glyphs panel.
Step 11
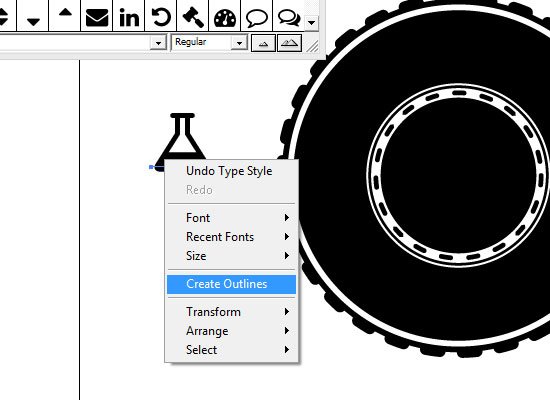
Convert the symbol to object by right click on symbol and click ‘Create Outlines’.
Step 12
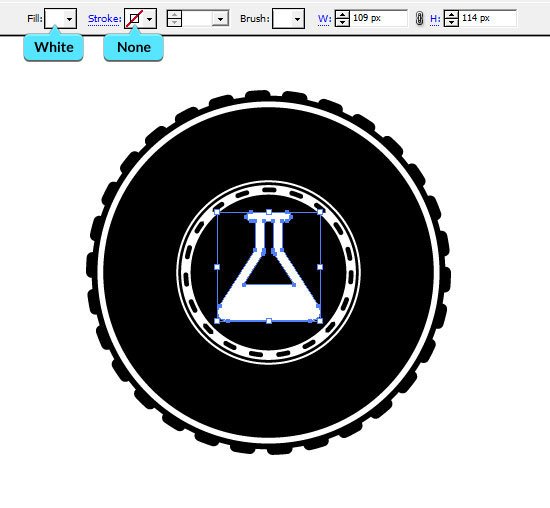
Put symbol at the center, Fill with White, Stroke to none, width: 109px dan hight: 114px.
Step 13
Create a duplicate circle from the logo, resize it and adjust Fill and Stroke to none. Put a text by click on Type tool menu and choose ‘Type on Path’, and click on the circle.

Step 14
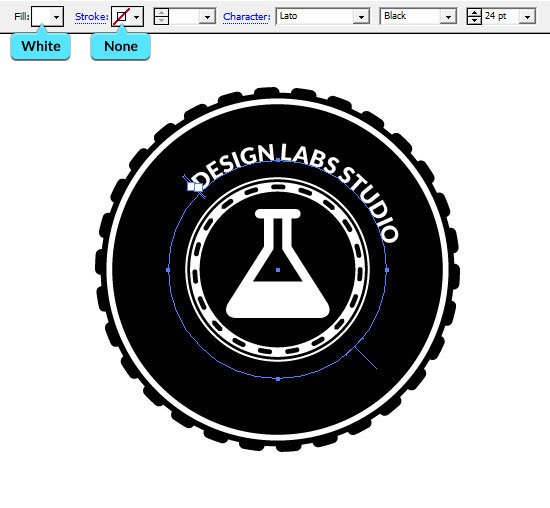
Type your text, here I’ve Choose ‘Lato’ fonts, Fill: White, Stroke: none.
Step 15
Resize the font to 56pt and adjust the text by rotate it.

Step 16
Create another duplicate circle from the logo and type your text, font: Lato, type: Light, size: 24pt.

Step 17
Open type on a path options by click menu Type > Type on a Path > Type on a Path Options…. Set Align to Path: Center, Effect: Rainbow and check the Flip button, then click OK button. Adjust the text to the center.

Step 18
For final touch create white circle and put it beside the text

Congratulations! Your Professional Logo is Finished!
Here the final preview of the logo Badge:

Now you can create your own similar logos using the same simple technique. I hope you found some useful tips and tricks in this tutorial. Good luck!
