How To Create A Tasty Restaurant Menu Card in Photoshop

Have a menu card is one important asset to generate sales for your restaurant.
In today’s tutorial we’re going to learn how to create your very own Restaurant Menu Card using Photoshop.
What You’ll Need to Create Your Menu
As well as access to Adobe Photoshop, you’ll need to download the following images and font files from The November Feast Bundle by TheHungryJPEG! Includes 93 fonts from 38 font families and 1780 handcrafted graphics elements, wreaths & patterns from 16 graphics packs for all your holiday projects!:
- It’s Turkey Time – Thanksgiving Watercolor Collections by TheHungryJPEG
- BrideChalk by StoricType
Let’s begin!
STEP 1: Set Up New Document
Go to [File] > [New…], and enter the following:
- [Name](optional): Food Menu
- [Preset]: International Paper
- [Size]: A4
- [Resolution]: 300 pixel/inch
- [Color Mode]: CMYK Color 8 bit


STEP 2: Create Pattern
Here we use “It’s Turkey Time! Thanksgiving Watercolor Collection” from TheHungryJPEG November Bundle for the menu pattern.


Go to menu [Edit] > [Define Pattern…]

Give a name

Open early file “Food Menu.psd” define Background layer as a new layer by double click on layer background and click [OK]
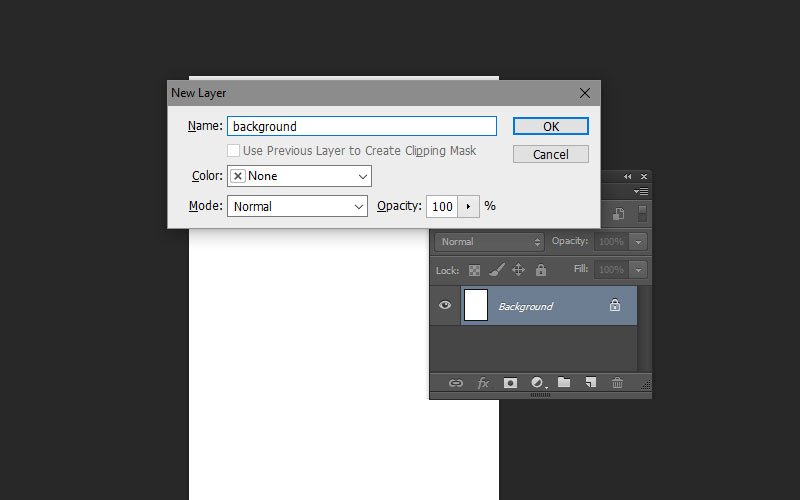
Right click on layer background and select menu [Blending Options…]

Select [Pattern Overlay] and choose the pattern we made before, edit [Opacity]: 50% and [Scale]: 30%, and click [OK]


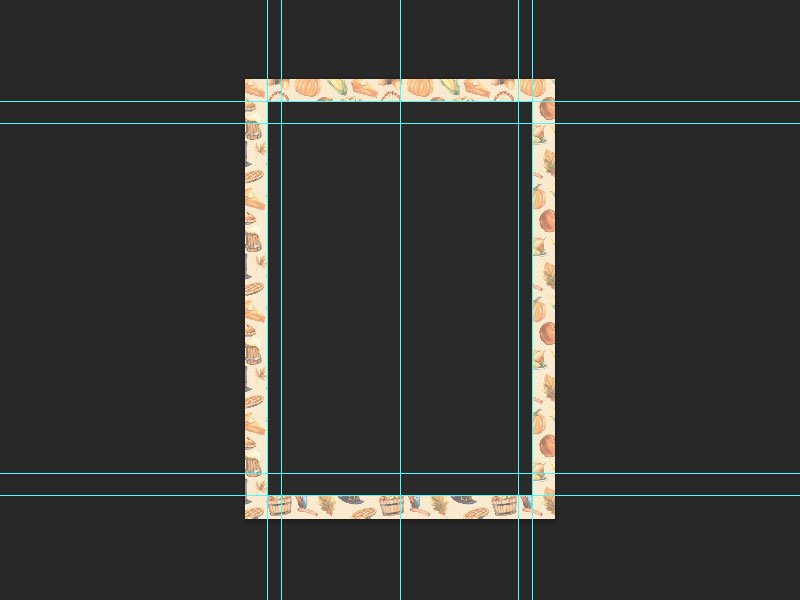
STEP 3: Create a Form inside
First, make guides by menu [View] > [New Guide…] and choose Vertical and fill [Position]: 1,5 cm.


Do it again and fill this:
- For Vertical Guides: 2,5cm, 18,5cm, 19,5cm, and 50%
- For Horizontal Guides: 1,5cm, 3cm, 26,7cm, 28,2cm and 50%

Create rectangle object color dark #2b2a29

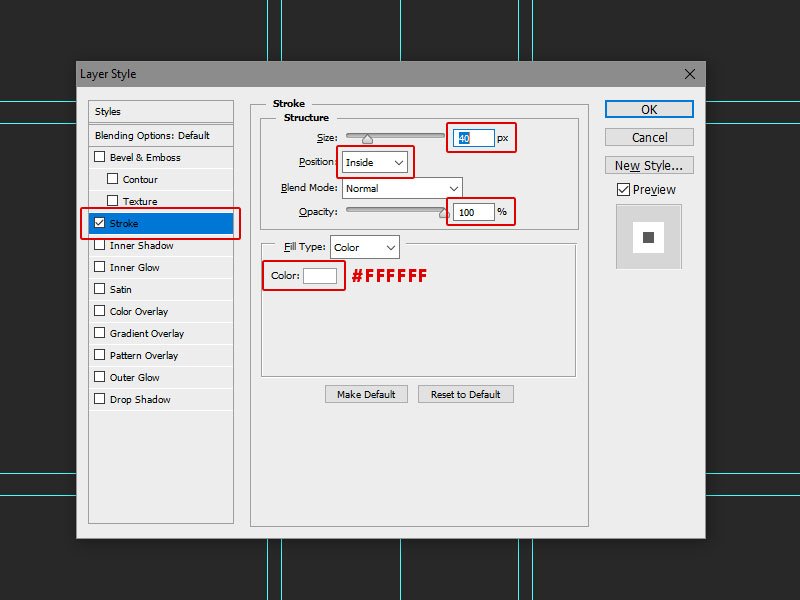
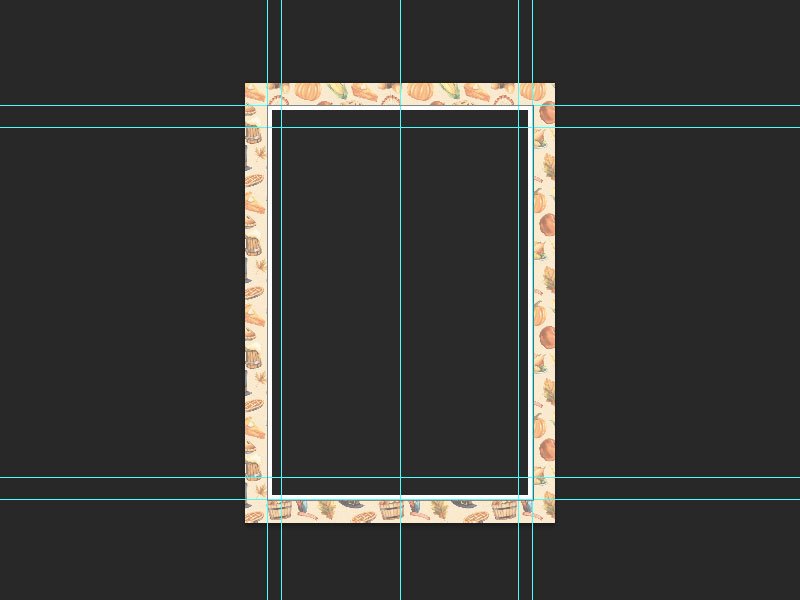
Create a border for rectangle layer by right click on layer and select [Blending Options…]

Click [Stroke] and fill [Size]: 40px, [Position]: Inside, [Opacity]: 100%, [Color]: White (#ffffff)
STEP 4: Add Background Image
Again for the background we use TheHunryJPEG’s “It’s Turkey Time! Thanksgiving Watercolor Collection”

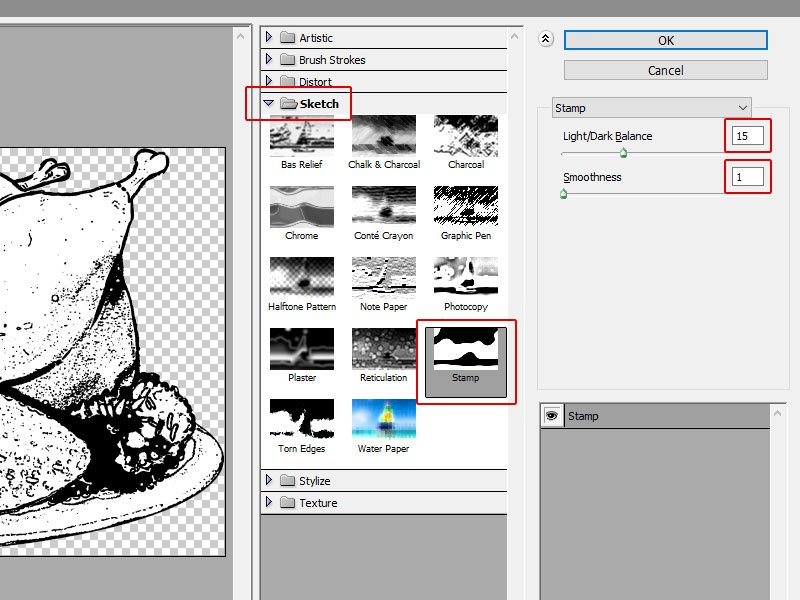
Edit image by filter effect, click menu [Filter] > [Filter Gallery…]

Choose [Sketch] > [Stamp] and fill [Light/Dark Balance]: 15, and [Smoothness]: 1.

Copy & paste image to file “Food Menu.psd”
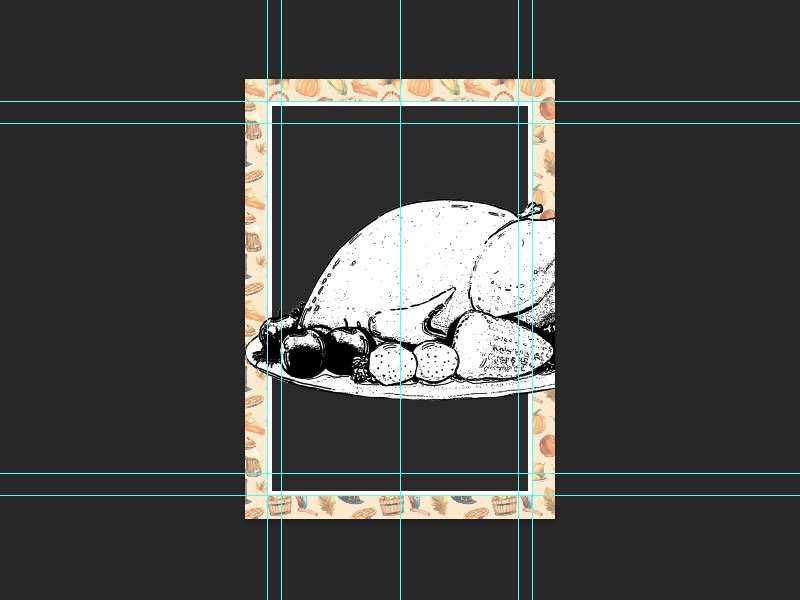
Set the blending mode for the layer to [Multiply]

Resize and set [Fill]: 40%

Add another image, the process still the same


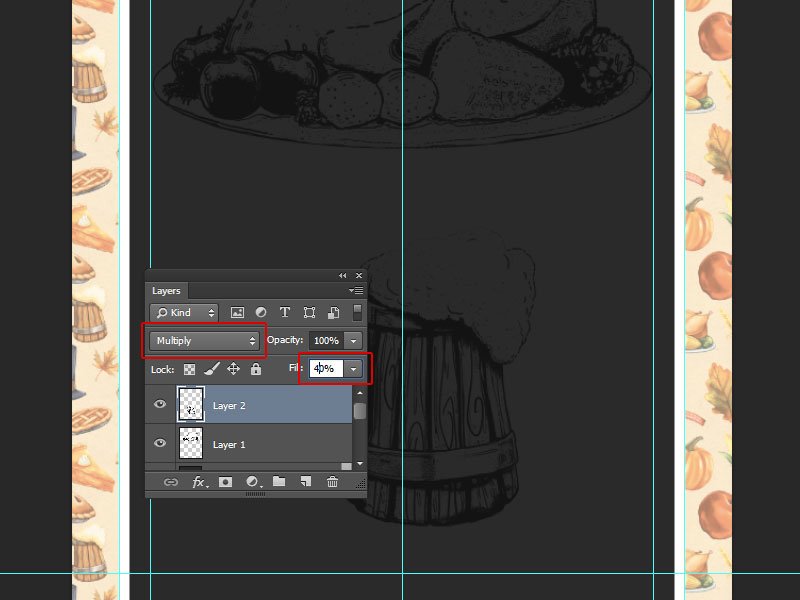
The Result:

STEP 5: Add Menu Text
For the menu text, here we use BrideChalk Font from The November Feast Bundle by TheHungryJPEG.
Write Header menu:
- [Font]: BrideChalk,
- [Font Style]: Serif,
- [Font Size]: 48pt,
- [Font Color]: d26d20.

Write the menu, here we use:
- [Font]: Montserrat,
- [Font Style]: Regular,
- [Font Size]: 14pt,
- [Font Color]: d26d20.

Add another menu:

Then write your info, here we use:
- [Font]: Montserrat,
- [Font Style]: Regular,
- [Font Size]: 8pt,
- [Font Color]: d26d20.

The Result:

STEP 6: Create New Document
Now we will create the menu cover, the process still same with STEP 1 & STEP 2

STEP 7: Add a Frame
Before we add frame, make guides first by menu [View] > [New Guide…] and choose [Horizontal] and fill [Position]: 50%.


Do the same again and choose [Vertical] and fill [Position]: 50%.

Add Frame, again we use the image from “It’s Turkey Time! Thanksgiving Watercolor Graphic Collection. They have 6 types of frame


Select all by go to menu [Select] > [All], copy image by [Edit] > [Copy], open file “Cover Menu.psd” and paste file by [Edit] > [Paste]

Resize and put at the center

Add the header text, here we use:
- [Font]: BrideChalk,
- [Font Style]: Serif,
- [Font Size]: 48pt,
- [Font Color]: d26d20.

Add the tagline text, we use:
- [Font]: Montserrat,
- [Font Style]: Regular,
- [Font Size]: 18pt,
- [Font Color]: d26d20.

The Result:

Congratulations, You’re Done!
And here the final result:

In this tutorial you’ve learned how to create a restaurant menu card with Photoshop!
I hope that you’ve enjoyed my tutorial and learned something new. Please feel free to leave your comments, suggestions, and outcomes below.