How To Create Your Own Custom T-Shirt Design in Adobe Photoshop (The Easy Ways)

So you want to design your own custom t-shirts and one of these t-shirt mockup free might be usefull. In today Photoshop tutorial you’ll learn the easy ways process in designing your own t-shirt.
In this tutorial we’ll use the graphic and font from The Smashing September Bundle by TheHungryJPEG. The bundle packed full with 101 different font files from 45 font families and 12 beautiful graphics packs with over 1260 elements & patterns.

Get this smashing collection for ONLY $29 — that’s 97% OFF!
Tutorial Assets
The following assets were used during the production of this tutorial, that you can found in “The Smashing September Bundle” from TheHungryJPEG:
- Pink Lady Font by Ivan Rosenberg
- Watercolor Rose Garden Graphic by Irina Diasli
Step 1: Set Up Your Photoshop Document
Open File -> New
Set paper size to A4 with resolution to 300dpi and color mode CMYK.

Step 2: Set your canvas
Set background color to red #820000

Step 3: Choose Your Image
We use Water Color Rose Garden by Irina Diasli from “The Smashing September Bundle” By TheHungryJPEG

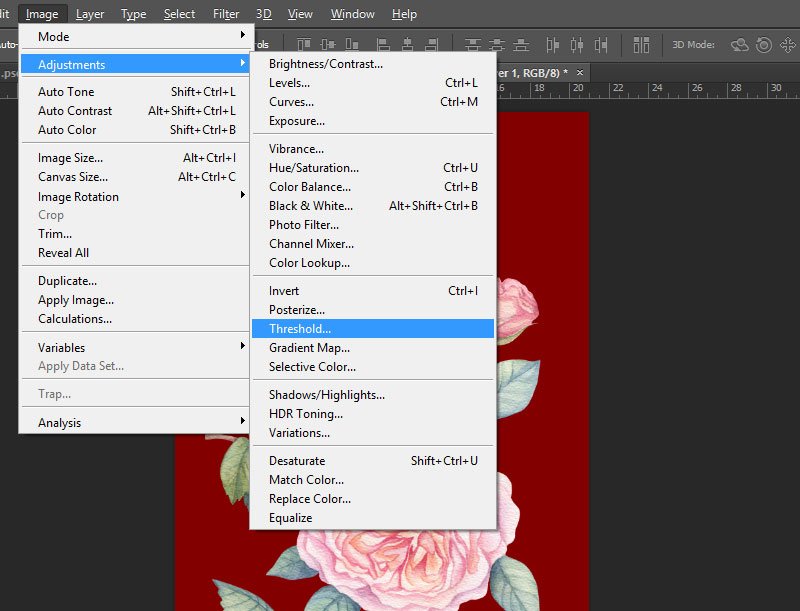
Step 4: Edit the flower
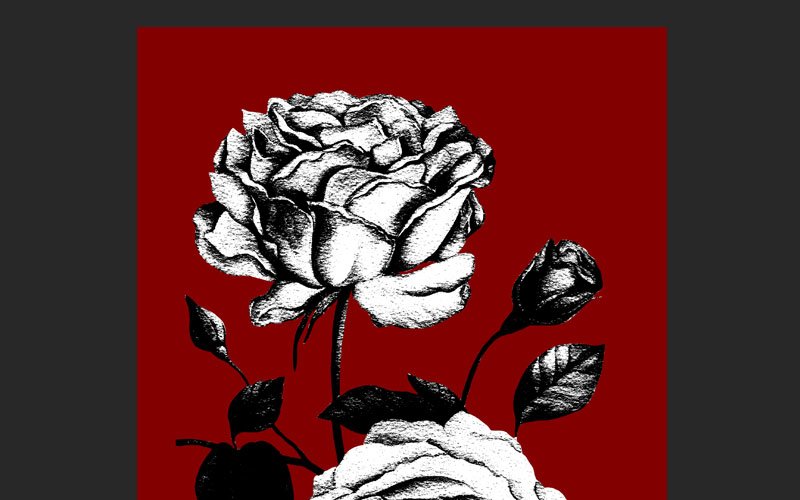
Open Image -> Adjustments -> Threshold
Set threshold level to 210, or set the level until most of the image still looks visible

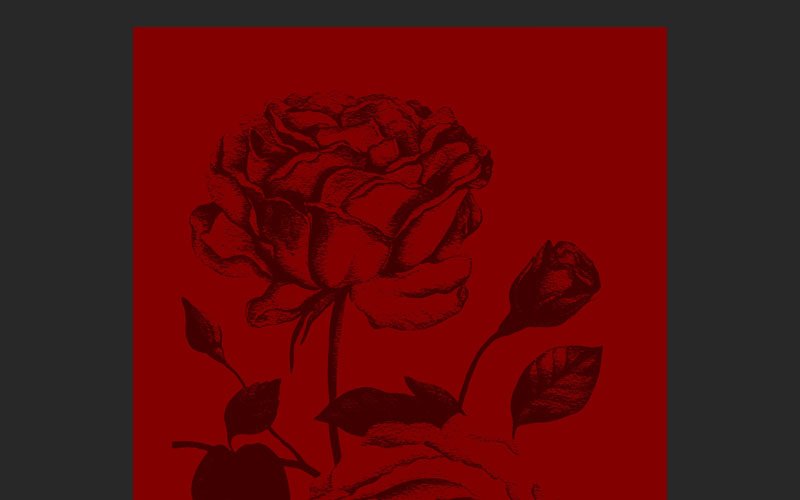
Set layer preview to multiply and fill: 50%

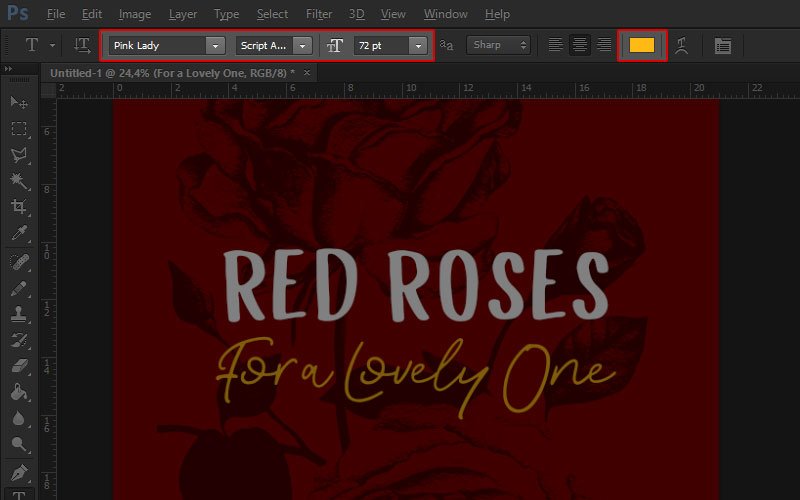
Step 5: Put Some Words
Then I chose “Pink Lady Font by Ivan Rosenberg” from “The Smashing September Bundle” By TheHungryJPEG. This font includes 3 font versions (Script, Script Alt & Sans)
At first line, set font style: Sans, font size: 72pt and color #ffffff

At second line, set font style: Script Alt, font size: 72pt and color #ffba14
Step 6: Edit text style
For the last touch, we will create Warped Text
choose Style: Rise, Horizontal, and Bend: 50%.

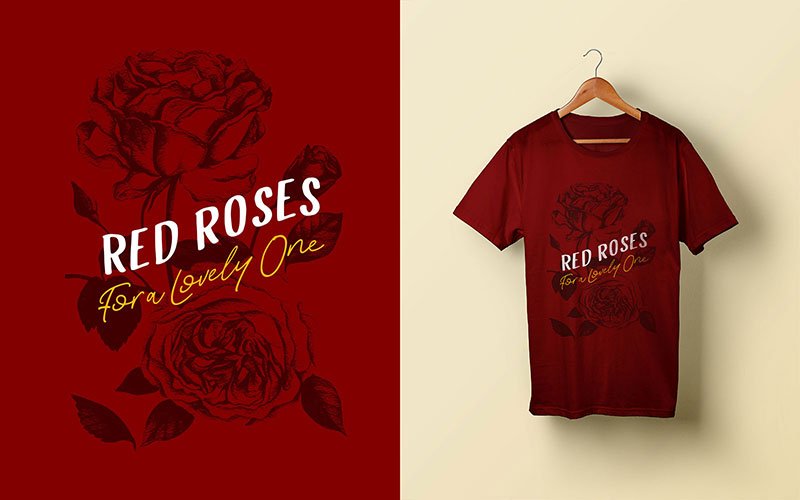
The Final Result
Congratulation your custom t-shirt design is ready!
Your Turn
In this easy step by step tutorial we learned how to create your own custom t-shirt design with Adobe Photoshop by using font and graphic in The Smashing September Bundle from TheHungryJPEG.
With the same techniques above, I also create the other custom t-shirt designs to inspire you below.

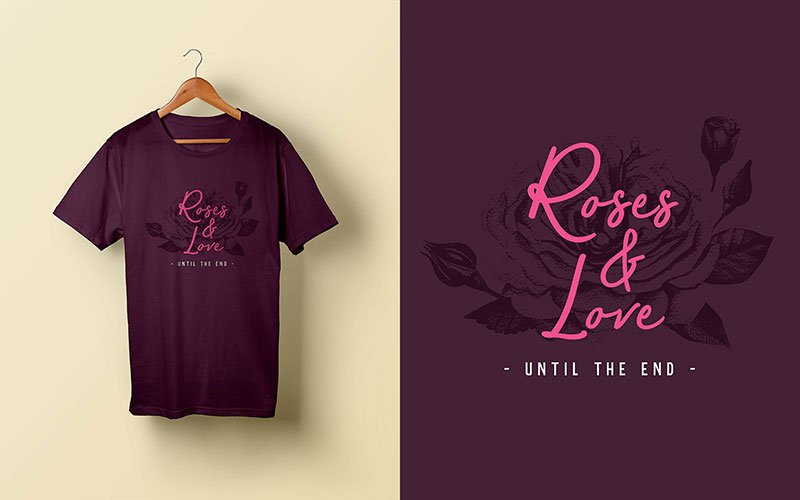
I hope that you’ve enjoyed my tutorial and learned something new. Please feel free to leave your comments, suggestions, and outcomes below.